

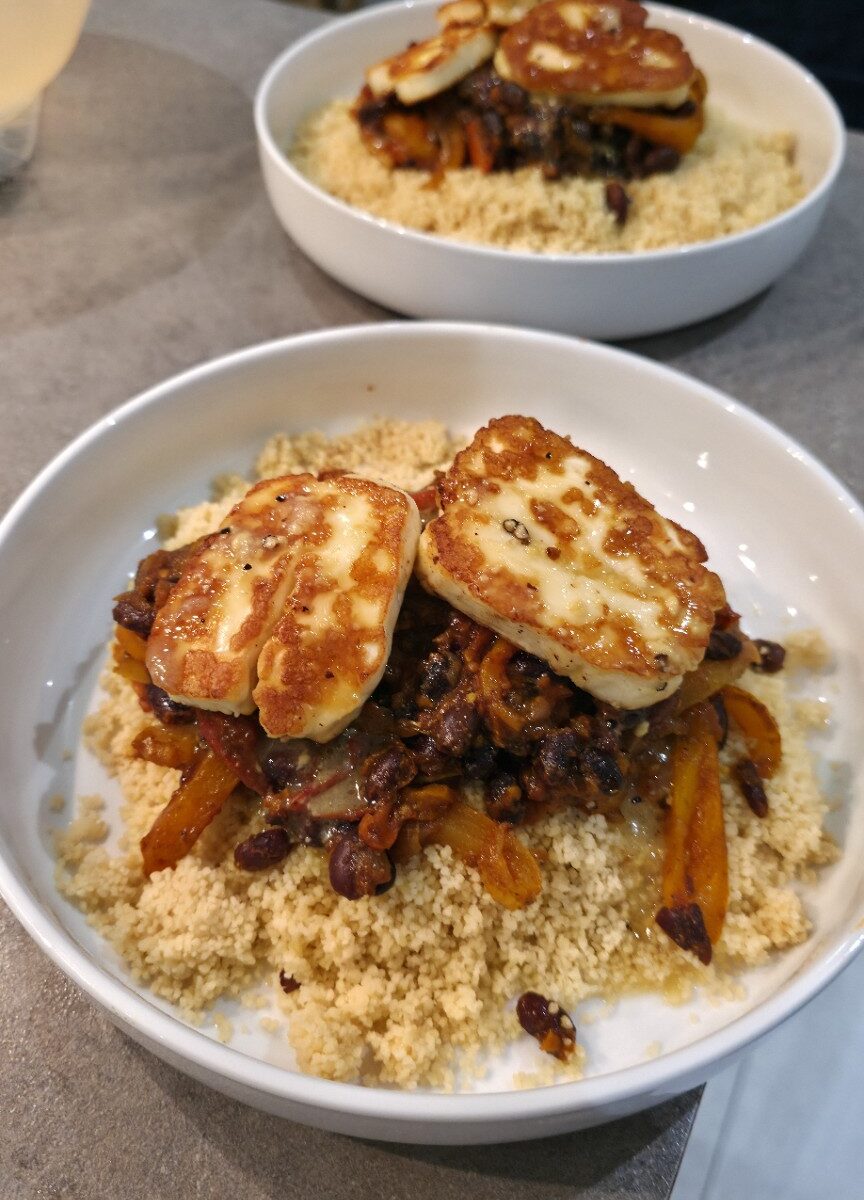
This started as a Friday-night rummage through the kitchen: halloumi, three peppers, an onion and some couscous, but no chickpeas. I did have black beans, cherry tomatoes, plenty of garlic and a jar of Kinder’s Woodfired Garlic seasoning. The result was a rich, smoky black-bean and pepper mixture over fluffy couscous, topped with beautifully golden halloumi and a sharp lemon, garlic, honey and Dijon dressing. Rather good, as it turns out.
There’s a lesson in this one. On my first attempt I cooked the onions and peppers a bit too long. The flavour was great, but they lost their bite while I was waiting for the couscous water to boil. I don’t own a kettle, so this updated version starts the water early, shortens the vegetable cooking and keeps the couscous separate from the sauce. It’s the way I’ll make it next time.
Serves: 3–4 comfortably (or two enormous bowls) Prep: 15 minutes Cook: about 25–30 minutes Equipment: large cast-iron or stainless frying pan, second frying pan, small saucepan with lid, heatproof bowl.
Ingredients
For the smoky black beans and peppers
- 1 large onion, sliced into thin half-moons (about 3mm)
- 3 peppers — I used red, orange and yellow — sliced into strips roughly 5mm wide
- 10–14 cherry tomatoes, halved
- 1 x 400g tin of black beans, drained and rinsed
- 3 cloves of garlic, finely chopped
- 1 tbsp tomato purée
- 1 tsp Kinder’s Woodfired Garlic seasoning (or an extra small pinch of smoked paprika and garlic powder)
- 1 tsp smoked paprika
- 1 tsp ground cumin
- ½ tsp dried oregano
- ½ tsp chilli flakes, optional
- 1–2 tbsp olive oil, plus a splash of water when needed
- Freshly ground black pepper; salt only after tasting
For the couscous and halloumi
- 300g dry instant couscous (use 150–200g for smaller portions)
- 350ml boiling water for the 300g couscous, or follow your packet’s liquid ratio
- 1 tsp Maggi liquid seasoning, optional, or vegetable stock instead of plain water
- 2 tsp olive oil for the couscous
- 225g halloumi, sliced approximately 1cm thick
- 1–2 tsp olive oil for frying the halloumi
For the lemon, garlic and honey dressing
- 2 tbsp extra virgin olive oil
- Juice of ½ lemon, plus the other half to finish
- 1 tsp Dijon mustard
- 1 tsp honey
- 1 clove garlic, finely grated
- A generous grind of black pepper
Method
1. Start the water and prepare everything
First, put around 450–500ml water in a small saucepan, cover with a lid and bring it towards the boil on the hob. I’ll measure out the 350ml I need when I make the couscous; starting with slightly more water allows for a bit of evaporation. There’s no kettle shortcut in this kitchen, and I don’t want the vegetables sitting around cooking while I wait.
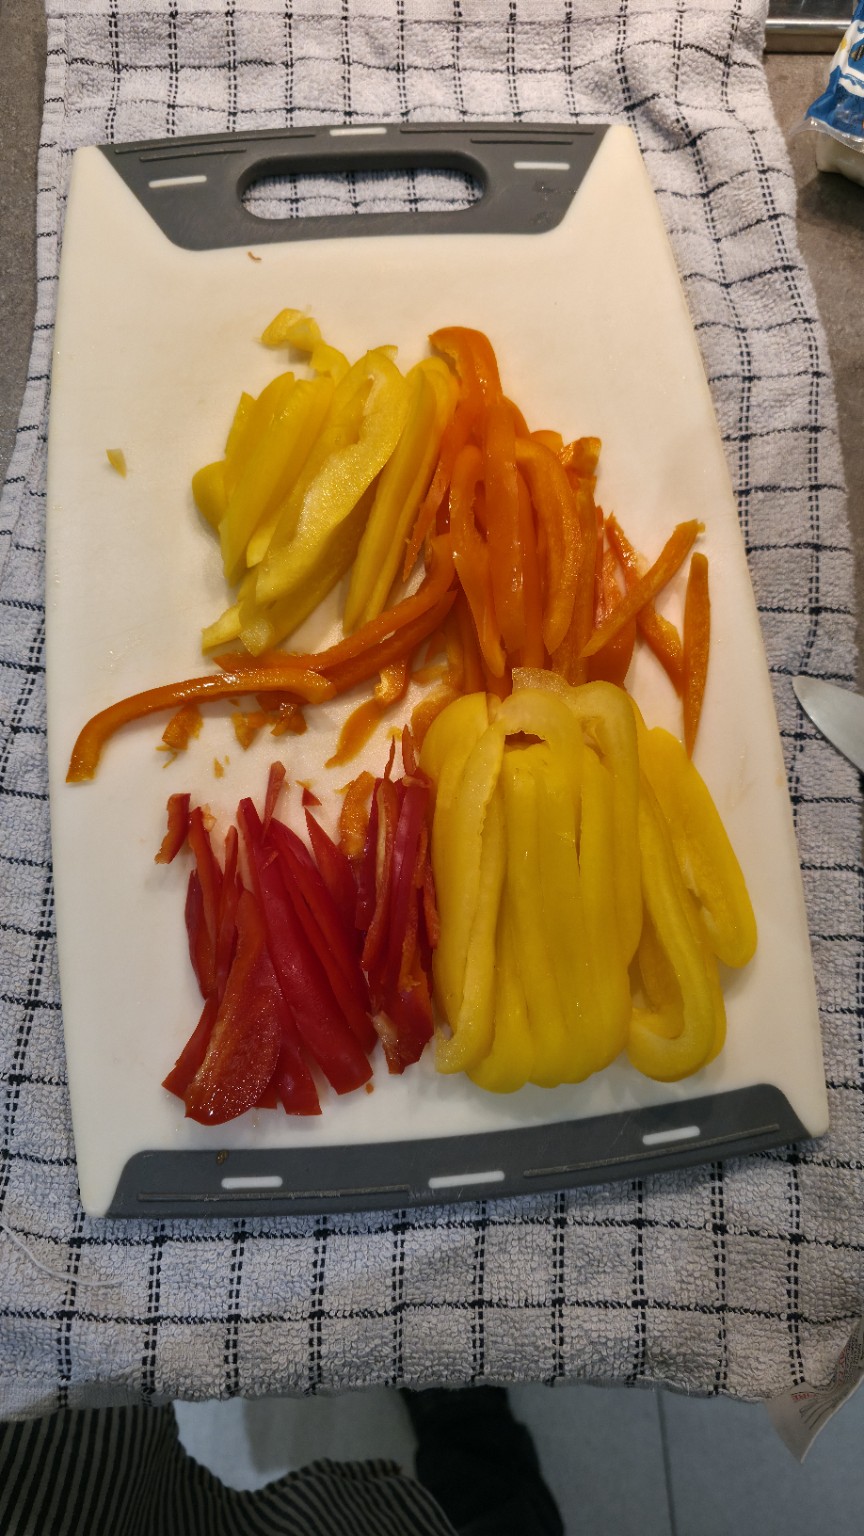
While that heats, halve and thinly slice the onion, cut the three peppers into strips, halve the cherry tomatoes, finely chop three garlic cloves, drain and rinse the beans, and cut the halloumi into thick slices. Pat the halloumi completely dry with kitchen paper. Grate the fourth garlic clove separately for the dressing.
2. Make the dressing now, not at the end
Whisk together the olive oil, juice of half a lemon, Dijon, honey, grated garlic and black pepper in a bowl. Taste it. I want it sharp, garlicky and only gently sweet. Add a touch more honey if it’s too tart. Put it to one side and whisk again just before serving. Making this early means the vegetables won’t overcook while I’m distracted.
3. Soften the onions — but don’t take them too far
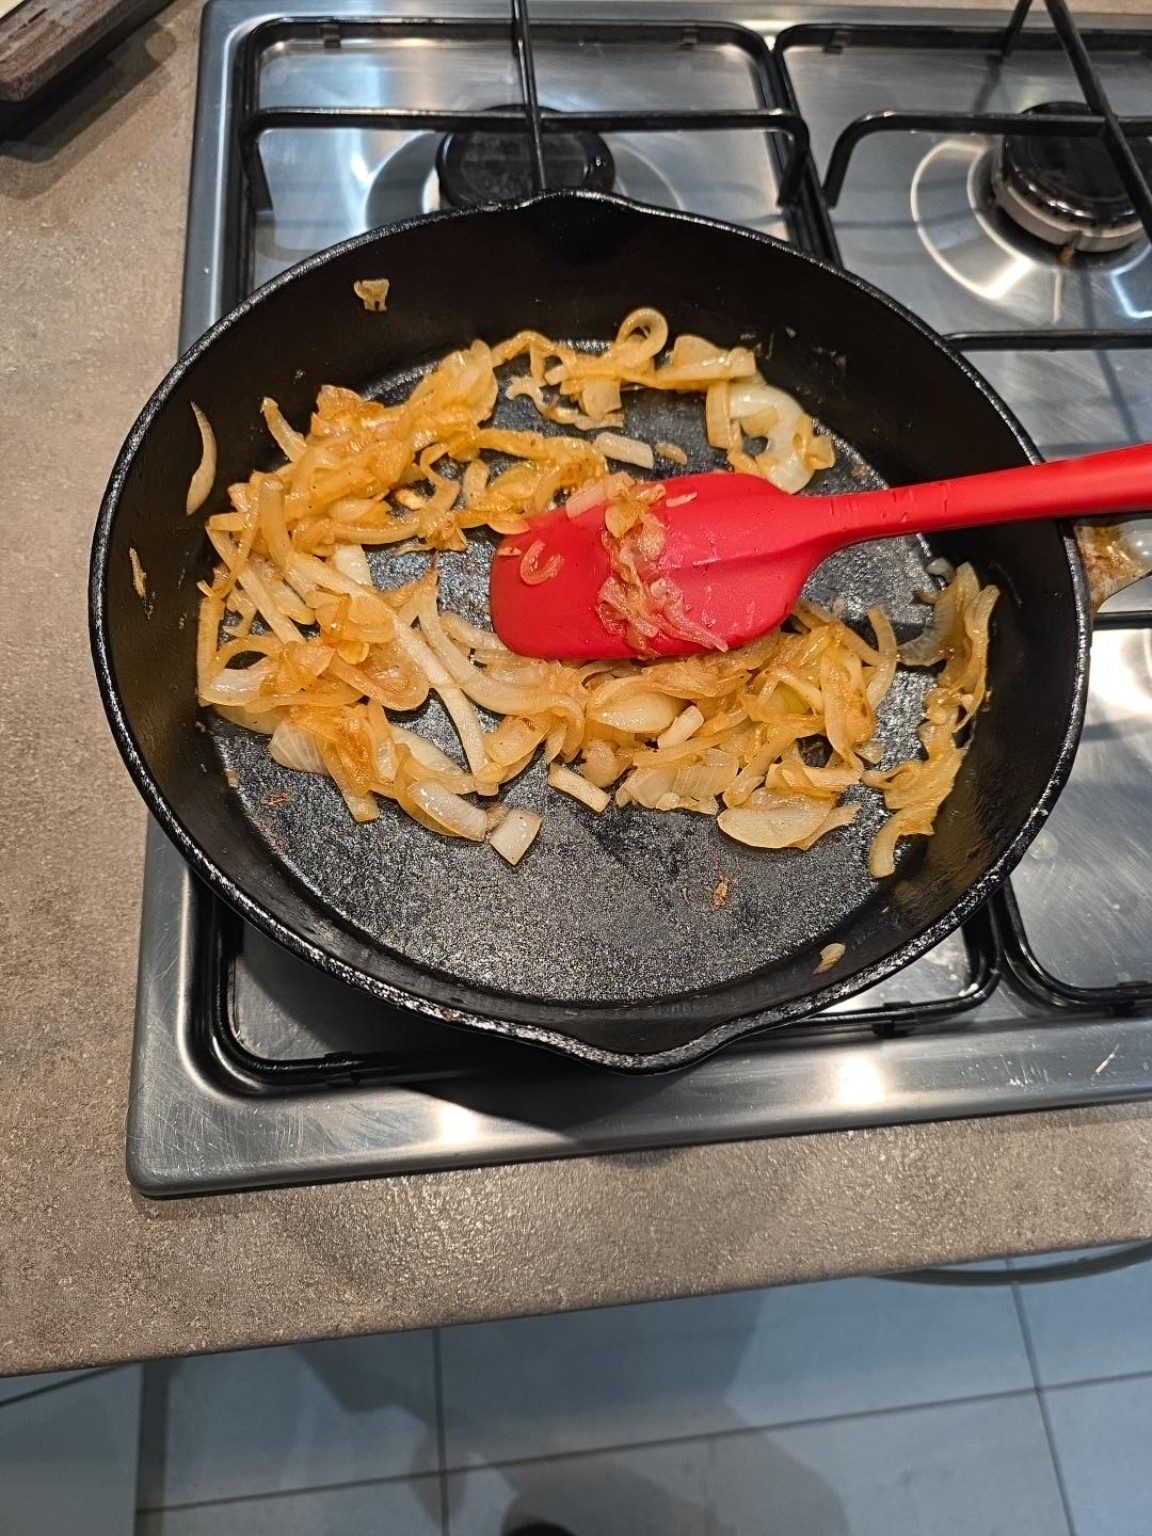
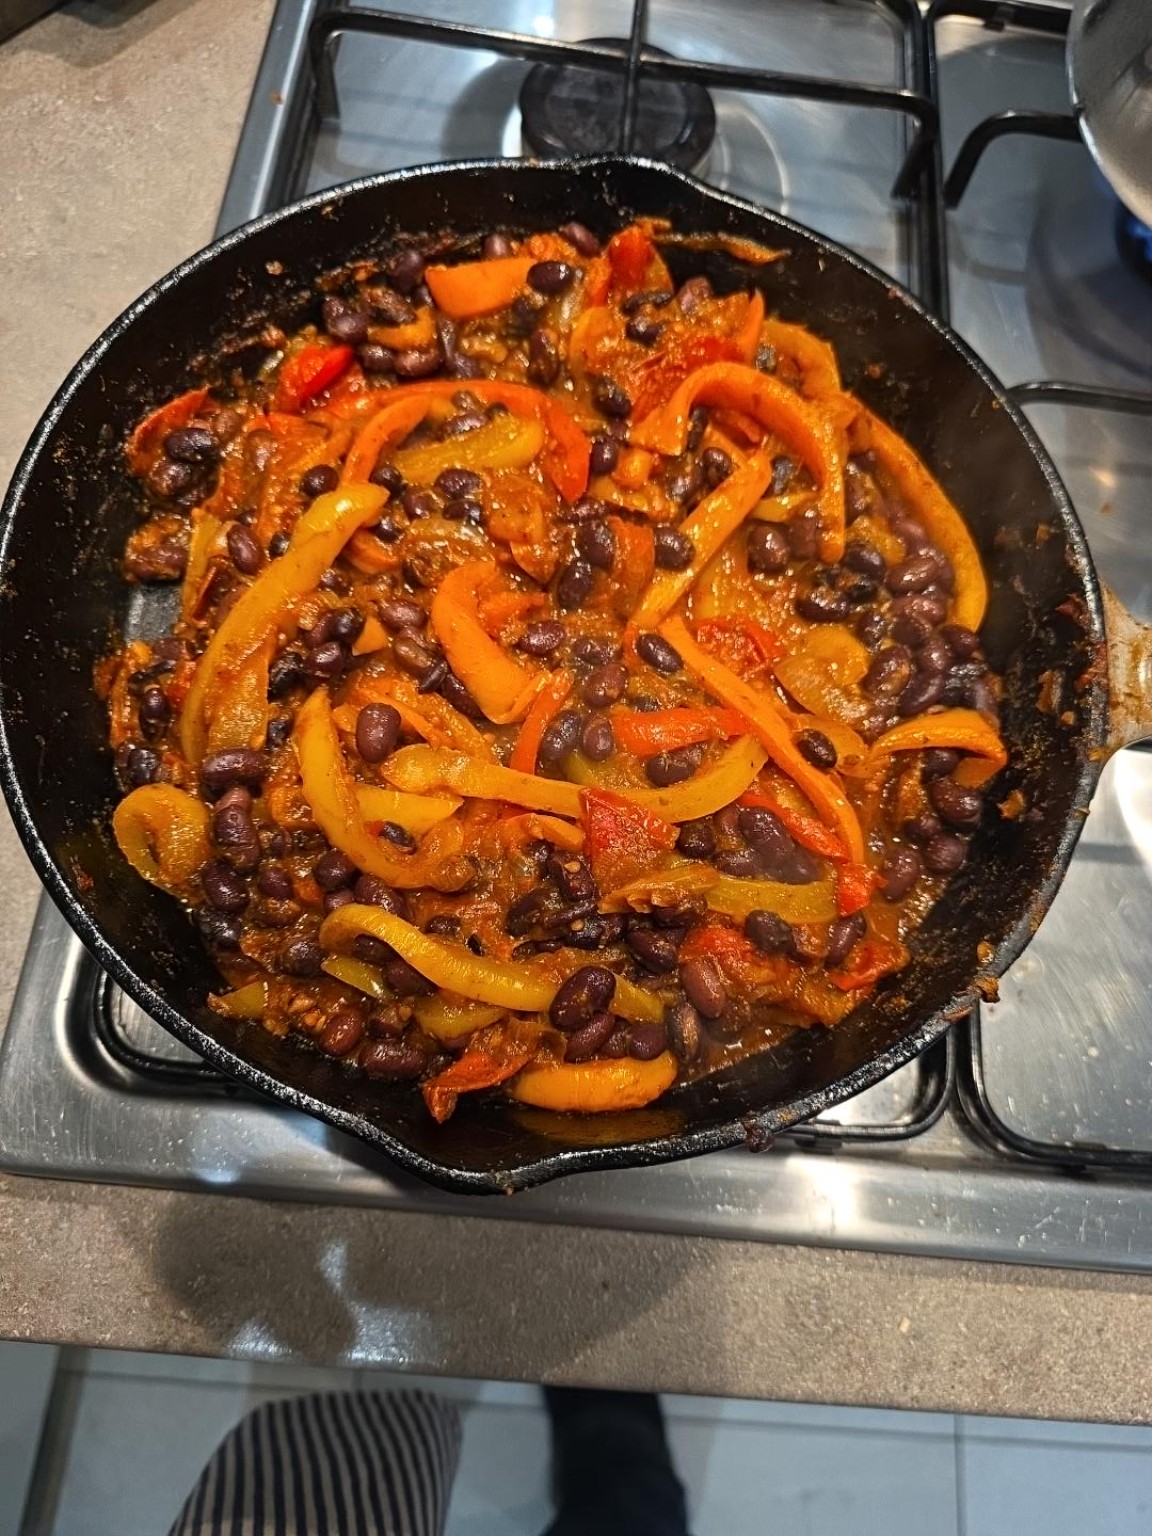
Heat a large cast-iron or stainless frying pan over medium heat with 1 tbsp olive oil. Add the onion and a small pinch of salt. Cook for 8–10 minutes, stirring every minute or two, until softened and lightly golden. I’m not chasing fully dark, jammy caramelised onions here; they need to retain some structure. If they start catching, add a tablespoon of water rather than leaving them on the heat for longer.
4. Give the peppers a quick, hot fry
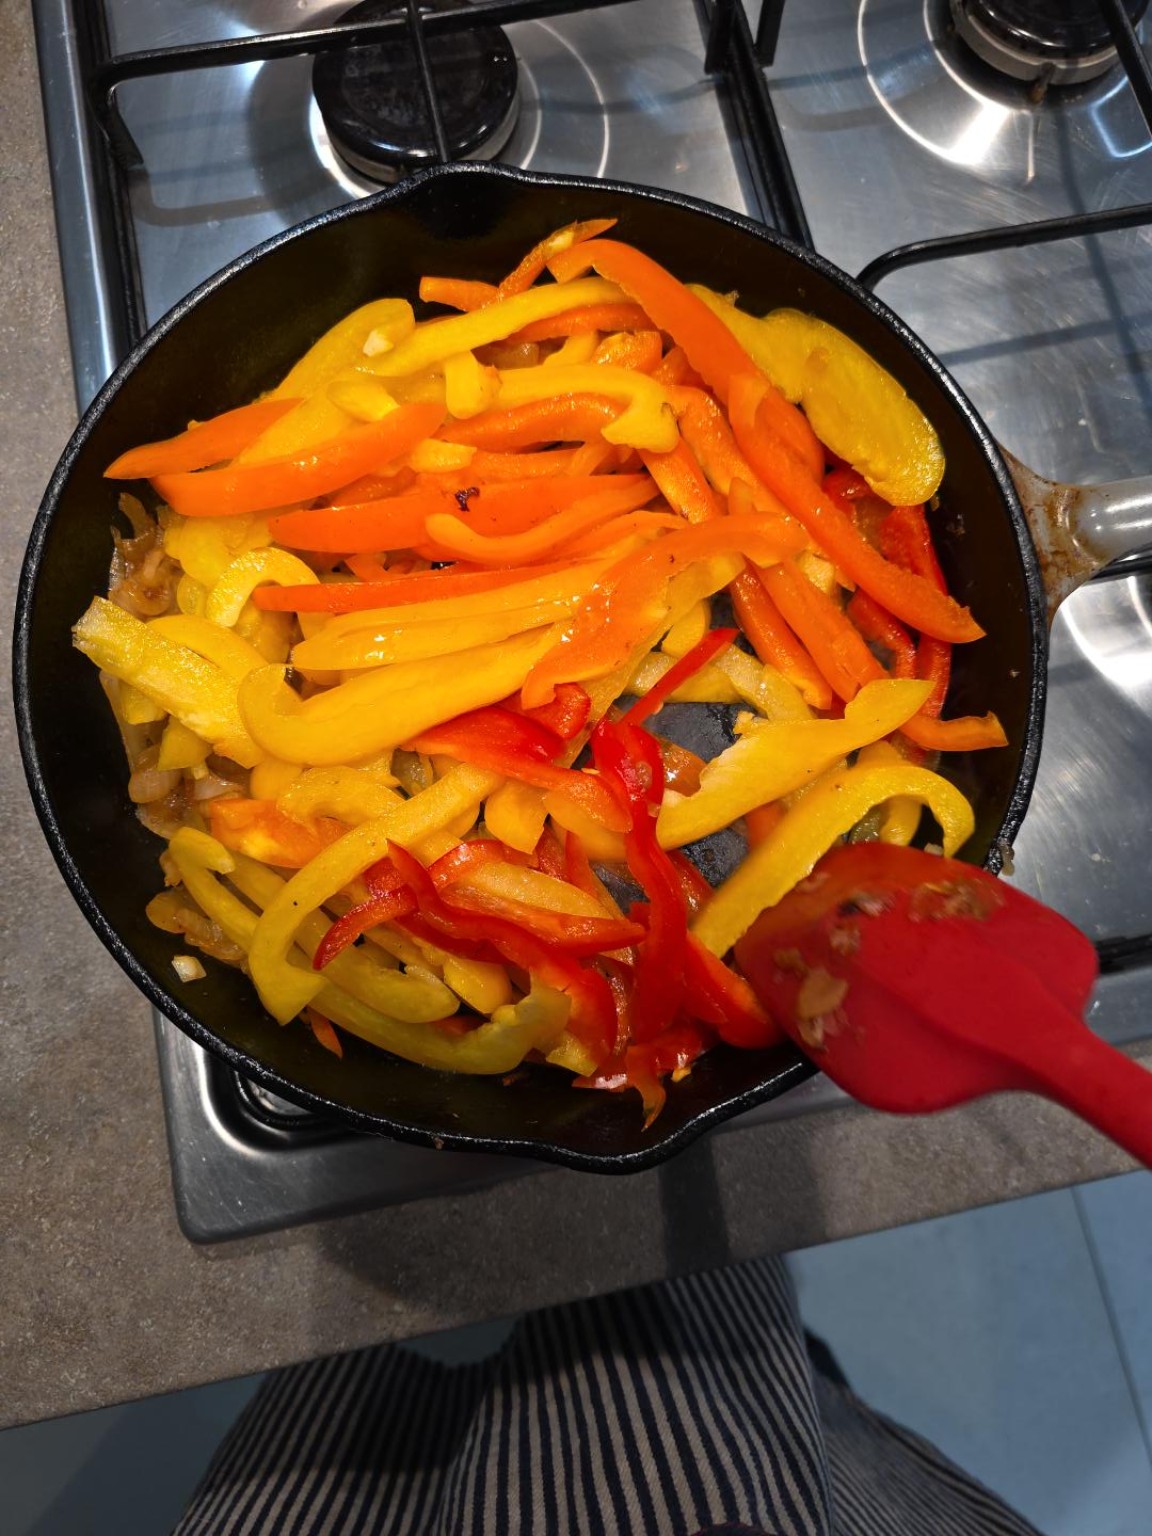
Increase the heat to medium-high. Add the sliced peppers and a little extra oil if necessary. Cook for 4–5 minutes, turning them occasionally rather than constantly stirring. I want a bit of colour and a little remaining bite. If your pan is very crowded, use a larger pan or cook them in batches — a heap of peppers will steam rather than sear.
5. Blister the tomatoes briefly
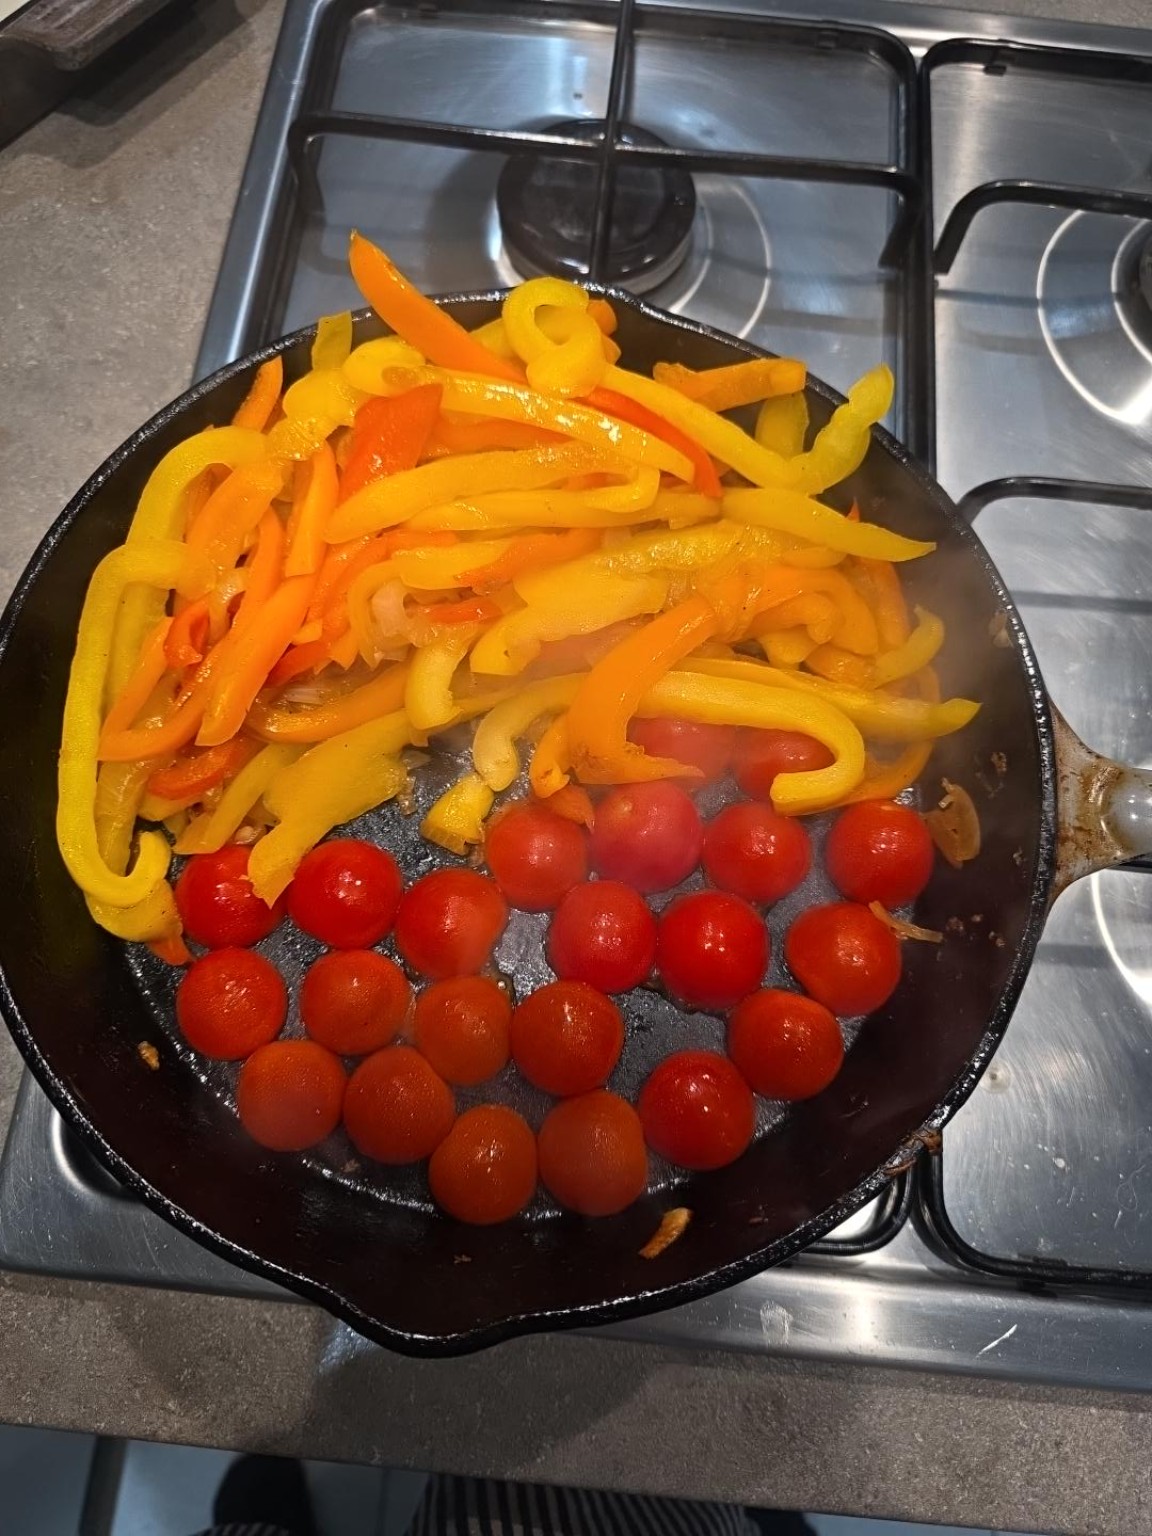
Push the peppers aside and place the halved cherry tomatoes cut-side down against the pan. Give them 2 minutes undisturbed, then fold everything together and cook for about 1 more minute. A few tomatoes should release their juice and start forming a sauce, but I don’t need every single one to completely collapse.
6. Add the garlic and smoky seasoning
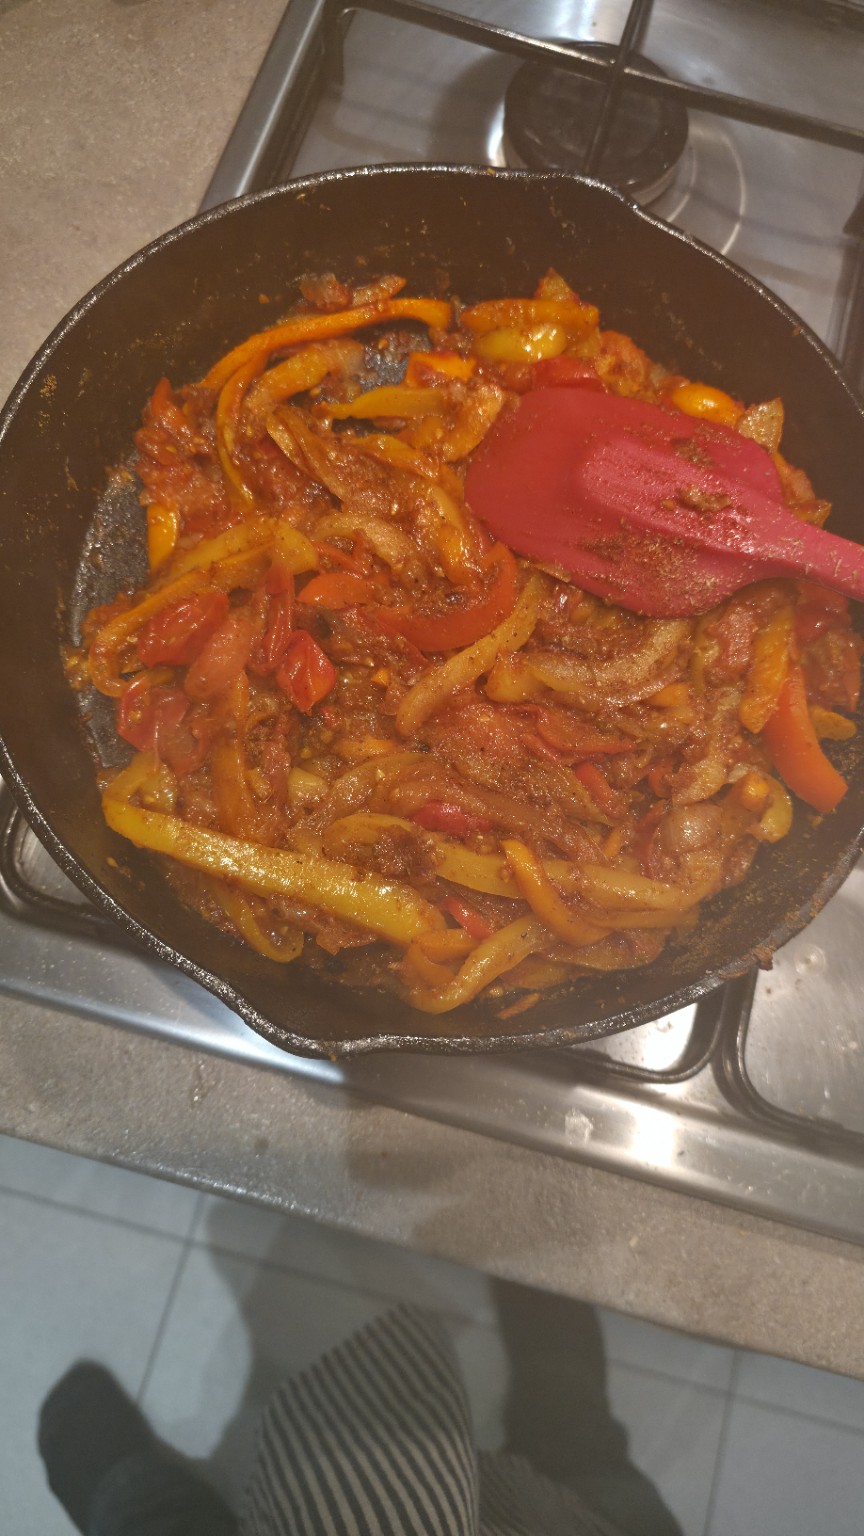
Reduce the heat to medium. Add the three chopped garlic cloves and stir for 30 seconds. Add the Kinder’s Woodfired Garlic, smoked paprika, cumin, oregano, optional chilli flakes and tomato purée. Stir for around 60 seconds to toast the spices and cook out the tomato purée. Add a small splash of water if it begins to stick. Go easy on salt — the seasoning and halloumi may already bring plenty.
7. Warm the black beans, then STOP cooking
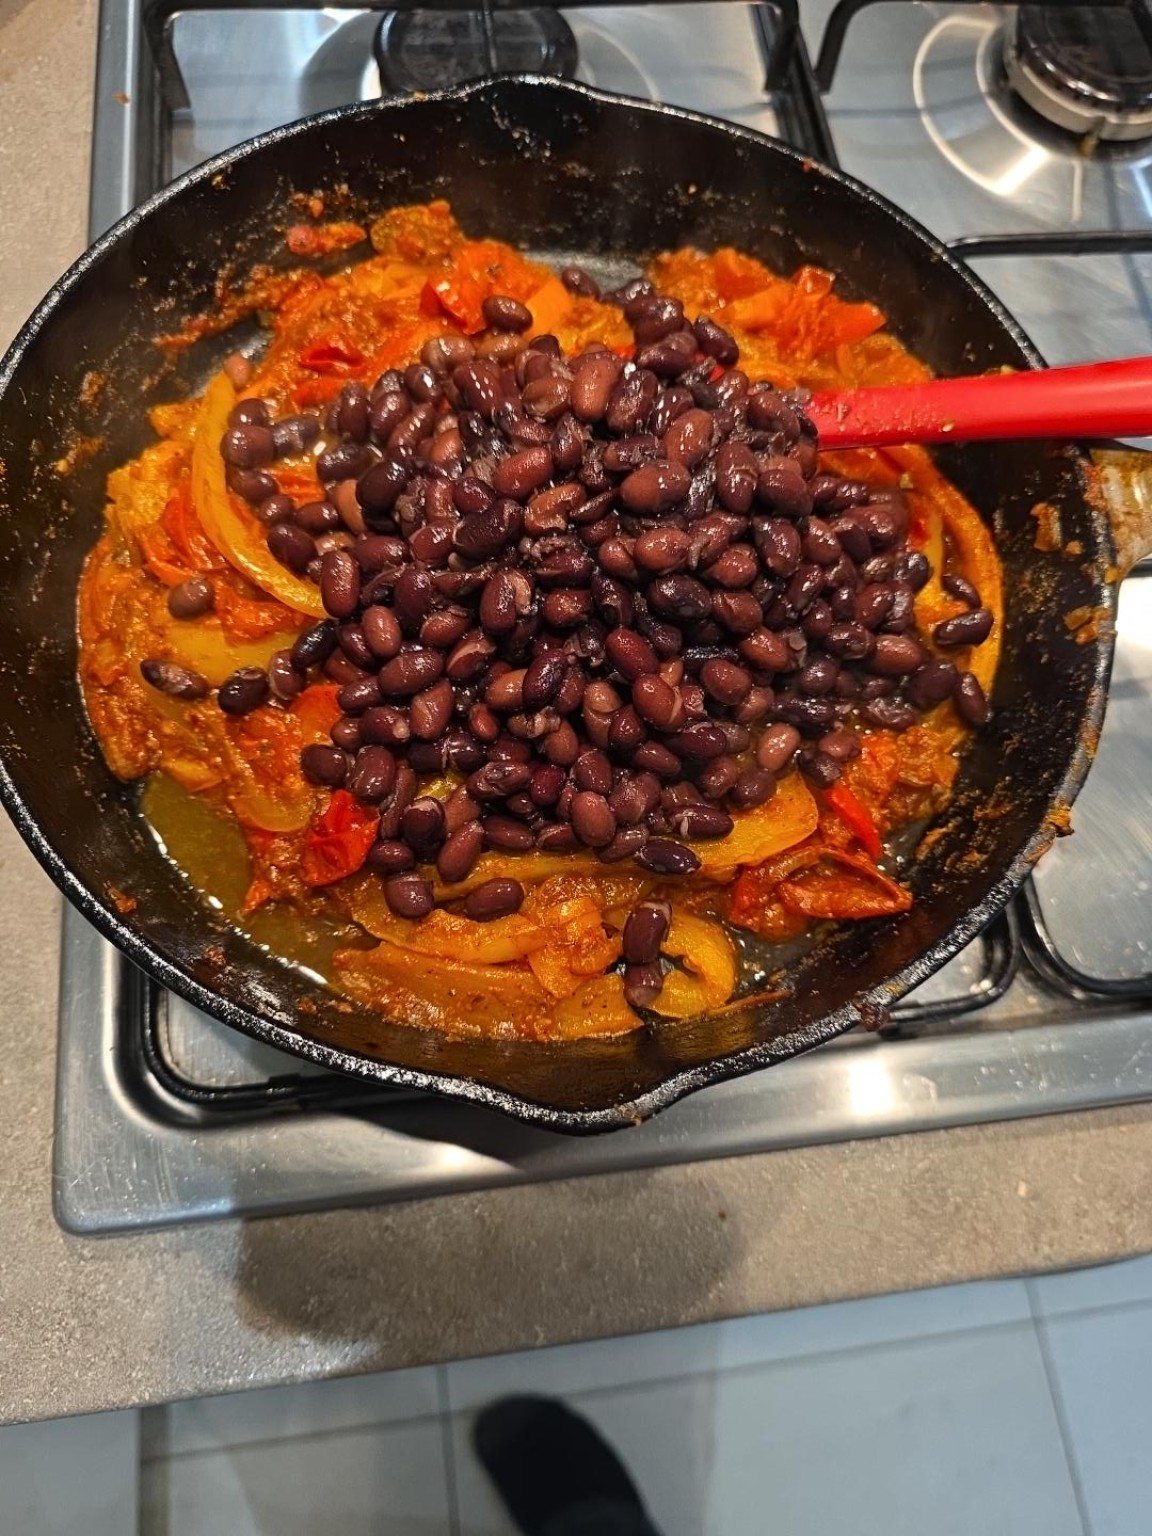
Add the drained black beans and 2–3 tbsp water. Fold through gently and heat for 2–3 minutes, until piping hot. Taste the sauce and adjust the seasoning. Then take the pan off the heat. This is the important change from my first attempt: don’t keep simmering it into a soft, mushy ragout while doing the rest of the cooking.
8. Make the couscous
Put 300g dry couscous in a large heatproof bowl. Measure 350ml of boiling water from the saucepan and season it lightly with a teaspoon of Maggi liquid seasoning if using (or use vegetable stock instead). Stir in 2 tsp olive oil and a few grinds of black pepper, pour over the couscous and stir once. Cover tightly with a plate for 5 minutes, then remove the plate and fluff thoroughly with a fork. If your brand needs a slightly different liquid ratio, follow the packet. If it remains firm, add a small splash more boiling water and cover briefly.
I accidentally ended up with 300g of couscous on the night. That’s an enormous amount for two, so 150–200g is a sensible option for smaller appetites; just reduce the water to match your packet’s instructions. Either way, keep the couscous separate from the vegetables so it stays fluffy.
9. Fry the halloumi last
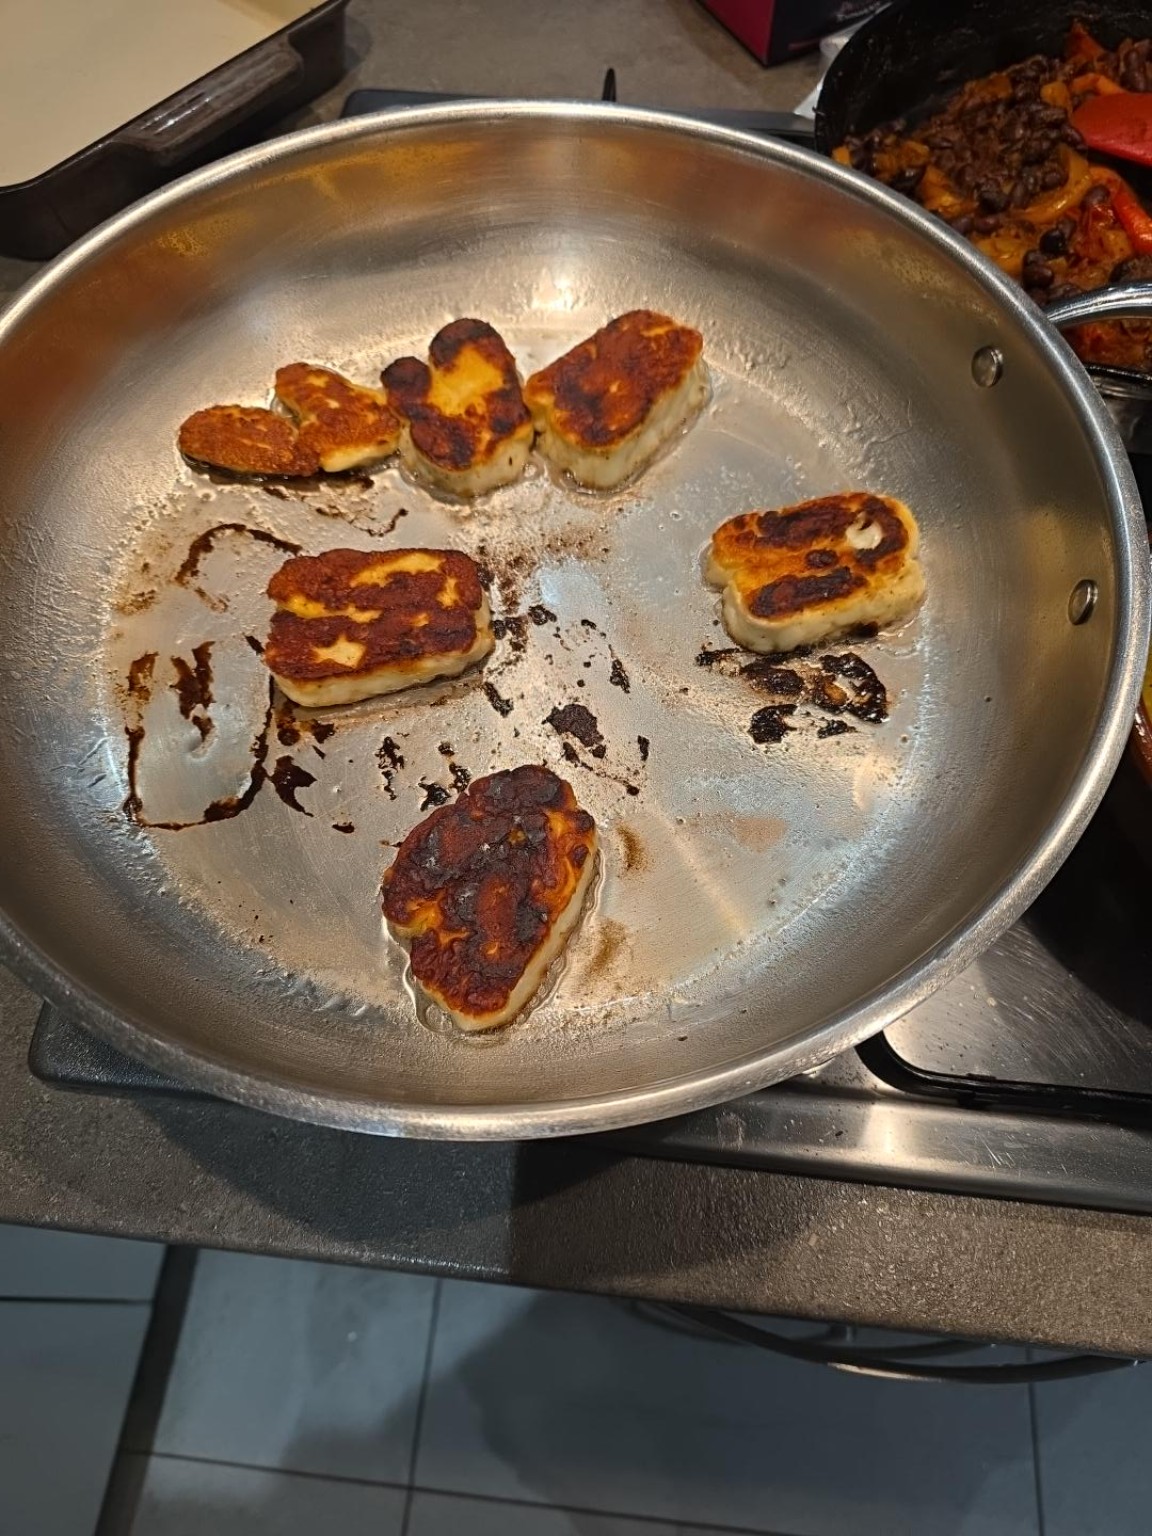
Heat a separate stainless steel or cast-iron frying pan over medium heat and add 1–2 tsp olive oil, enough to create a thin film. Make sure the halloumi is well dried. Lay the slices in the pan without crowding and leave them alone for approximately 2–3 minutes. Check underneath using a thin spatula; once a golden crust has formed, gently slide the spatula under and flip. Give the second side another 1–2 minutes. Take the slices off before the darker patches turn bitter.
My halloumi was properly patted dry before it went into the pan, so that wasn’t the issue. It still initially welded itself to the stainless steel and split into a few pieces when I tried to lift it. I gave the crust more time to form, then slipped a thin metal spatula underneath rather than pulling at it. The result was beautifully golden halloumi in the end — but drying it thoroughly certainly didn’t stop it sticking!
10. Plate it up
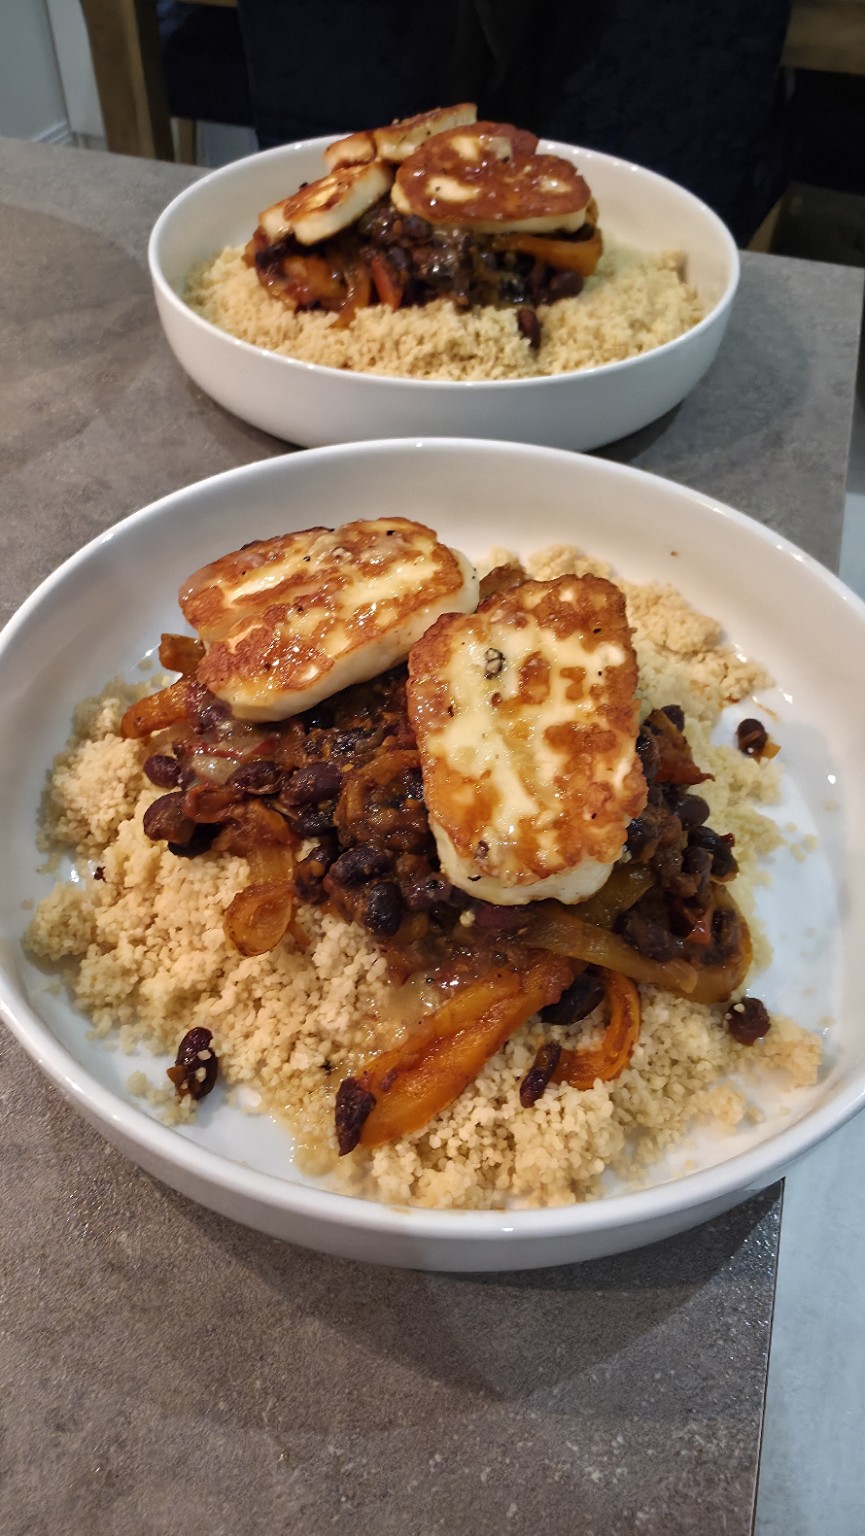
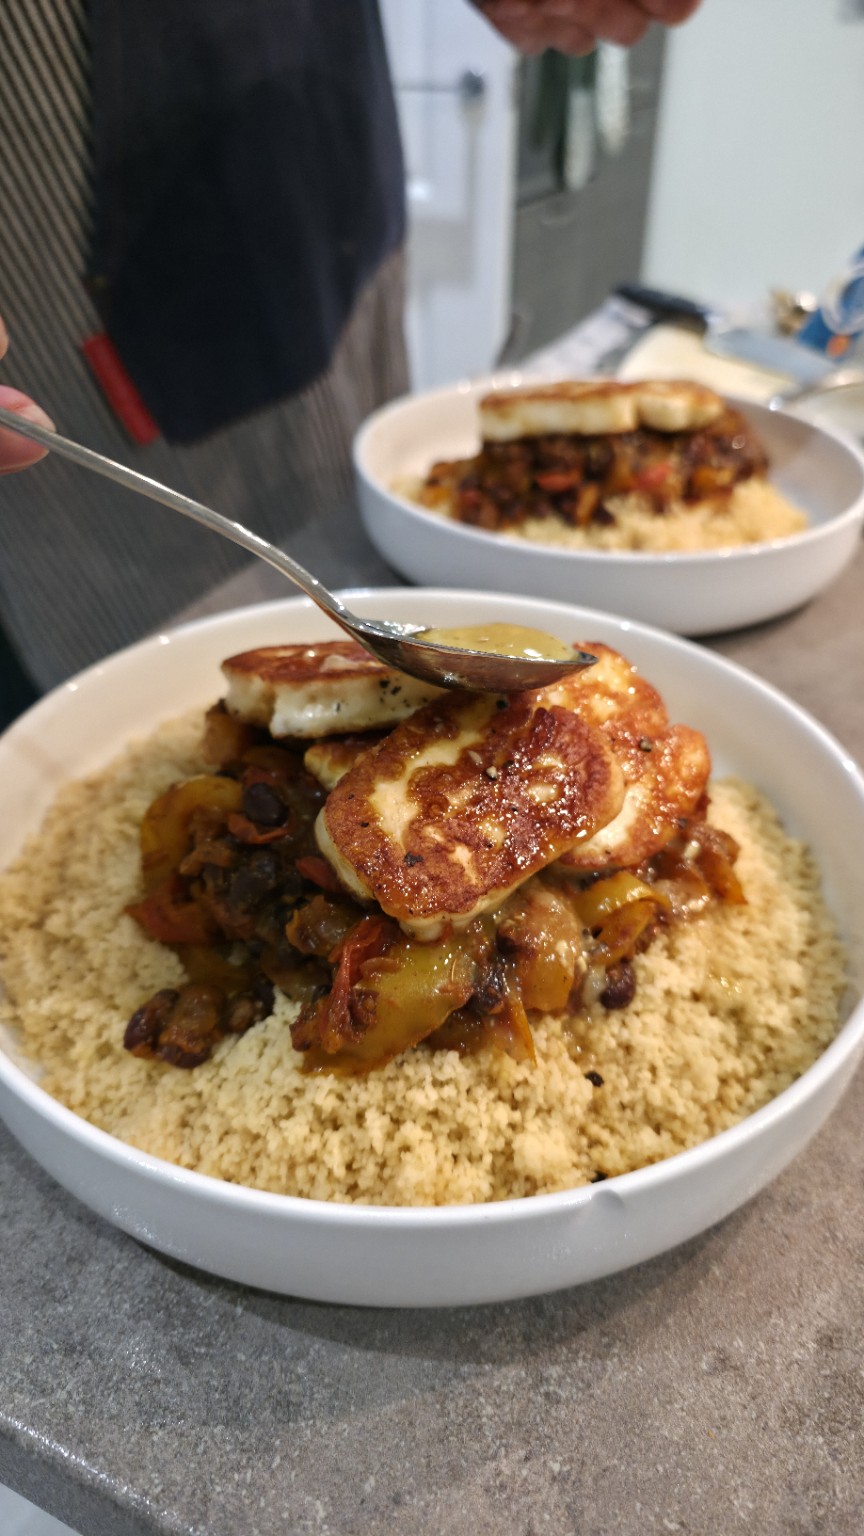
Fluff the couscous again and divide it between warm shallow bowls. Spoon the smoky black bean and pepper mixture over the centre, leaving the couscous visible around the edges. Stack the golden halloumi on top. Whisk the dressing again, start with about a tablespoon per bowl and add more to taste. Finish with a squeeze of the remaining lemon and a little black pepper.
What I’ll remember for next time
- Start the water on the hob before the vegetable pan gets busy. The lack of a kettle should not mean overcooked peppers.
- Stop the onions when they’re lightly golden, not fully caramelised; keep the peppers tender with a little bite.
- Let some tomatoes break down into sauce, but don’t reduce the whole mixture into mush.
- Take the beans off the heat as soon as they’re hot, and keep the couscous separate until plating.
- Pat the halloumi properly dry, use a thin film of oil, and let the first side develop a crust before trying to release it.
- Don’t skip the lemon dressing. Its acidity is what balances the rich, smoky filling and salty cheese.
A very satisfying dinner made from what was in the cupboard. The first version was rather good despite the slightly overcooked vegetables, so this is the refined version I’m keeping in Our Kitchen. And yes, four cloves of garlic still feels like a perfectly reasonable starting point.